
How to Perform a Basic Brake Inspection
Conducting a basic brake inspection is a simple yet essential skill for every vehicle owner. It helps you monitor the condition of your braking system, ensuring both your safety and the longevity of your vehicle. Understanding the steps and techniques involved in a basic brake inspection empowers you to recognize potential issues before they become major problems. This guide outlines the key elements of a thorough, straightforward brake inspection, offering practical guidance you can use at home or as a foundation for communicating with your mechanic.
Choosing the Right Location
Selecting the correct location to perform your brake inspection is vital. An ideal workspace should be flat and stable, providing ample room around your vehicle for moving and viewing all relevant components. Working in a well-lit area, preferably indoors or in the shade, allows for clear visibility of brake parts, helping you spot wear, fluid leaks, or mechanical damage more easily. Avoid performing inspections on sloped or gravel surfaces, as these may compromise both your safety and the vehicle’s stability. Taking the time to set up in an appropriate location ensures you can complete the inspection safely and thoroughly.
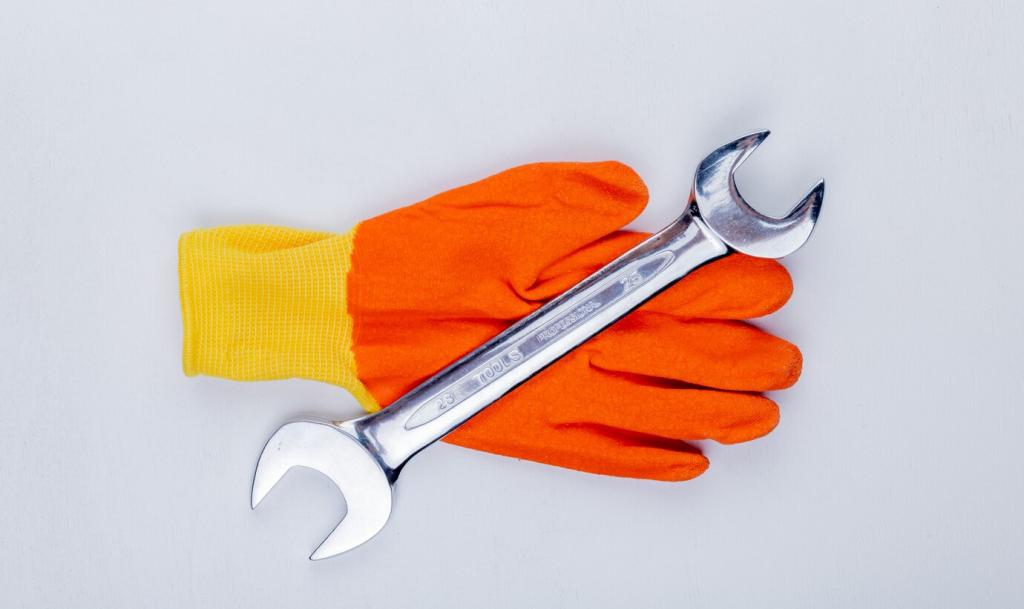
Gathering Tools and Safety Equipment
Equipping yourself with the right tools and safety gear is fundamental to a successful brake inspection. At a minimum, you should have a car jack, jack stands, a lug wrench, gloves, and appropriate eye protection. Having a flashlight will help illuminate dark or hard-to-see areas, making visual assessment much easier. Double-check that all equipment is in good working order before beginning, and keep your workspace organized to prevent accidents. Proper preparation not only prevents injury but also streamlines the inspection process, ensuring you can focus on carefully evaluating the brake components.
Inspecting Brake Pads and Rotors
Visual Assessment of Brake Pads
Observing your brake pads is an essential step in the inspection process. First, remove the wheel to gain clear access to the caliper and pads. Look at the pads through the opening in the caliper or directly if possible. Healthy brake pads should appear to be at least one-quarter of an inch thick; anything less may indicate the need for replacement. Additionally, inspect for uneven wear across the pad’s surface, which might suggest caliper or alignment issues. If you observe any deep grooves, discoloration, or crumbling edges, these are signs of excessive wear or heat damage. Paying close attention to these details allows you to proactively address issues before they escalate into more severe brake failures.
Checking Condition of Brake Rotors
Inspecting brake rotors involves looking for visual and tactile signs of wear or damage. Spin the rotor and examine its surface for grooves, scoring, rust, or discoloration. Even, smooth rotors typically indicate the brake system is operating correctly, whereas deep grooves or ridges suggest the pads may be worn unevenly or trapped debris has scored the surface. Feel along the outer edge of the rotor—it should be roughly the same thickness as the main braking surface. A noticeable lip can indicate significant wear. Rotors should also not be excessively warped; subtle warping might present as a pulsating feeling during braking and should prompt further professional inspection. Comprehensive rotor checks help maintain effective and even braking performance.
Assessing Brake Pad Wear Patterns
Identifying how your brake pads are wearing can reveal underlying issues with your braking system. If pads appear significantly more worn on one side of the vehicle or per wheel, this could indicate that calipers are sticking or your braking force is unevenly distributed. Uneven wear across the pad itself may be a sign of misalignment or sticking caliper slides, both of which can compromise braking safety. Examining the pads for glazing, which occurs when they become shiny and hard due to overheating, can help diagnose heat-related problems. Recognizing abnormal wear patterns ensures you address both the immediate concern and any root causes, safeguarding your vehicle’s braking effectiveness.

Examining Brake Lines and Fluid
Closely examine all visible brake lines and flexible hoses running from the master cylinder to the wheels. Look for cracks, bulges, leaks, or visible fraying on the rubber hoses, which could compromise brake fluid delivery and result in sudden failure. Metal lines should be free from rust, corrosion, or wet spots, as even minor leaks can quickly become hazardous. Gently press on the hoses—if they feel brittle, sticky, or unusually soft, replacement is likely necessary. Thoroughly checking these connections, particularly at joints and bends, ensures your hydraulic brake system remains sealed and effective, preventing dangerous loss of brake pressure while driving.